Showing posts with label Thanksgiving. Show all posts

Thursday, October 20, 2011

Fall Cards


WELCOME FALL!
Image Property of  
spartansusscraper.blogspot.com 

It has finally cooled down here in the south! Well a little bit I guess, we are talking 60’s. Up home in WI they are getting down to the 20’s (oh how I miss that!)  The hubby just got back from his trip to WY, where he said they had flurries- Jealous!!  
But anyways, I am in the mood for fall activities! I’m talking cooking crafts and a pumpkin patch! Last night I made a stuffed pork loin, sweet potatoes and apple pie! YUM!  So my plans for the day are to take my kitty cat to the vet, and then head to Hobby Lobby (YAY) and get some fall inspired paper. After all my new cricut is longing to be used! So I was looking online for some inspiration, and I found the cutest scarecrow card on http://spartansusscraper.blogspot.com  (awesome blog) I plan on making something similar.

Alright, here they are...
(yes they are very similar to those on the spartansusscraper blog, but what can I say I loved hers! Mine aren't quite as cute, but for my first card using my cricut I am happy, and I am sure my family will love them!)


Remember to follow my blog  for a chance to win a handmade gift! Drawing will be November 1st!

Thursday, October 13, 2011

Block Letters DIY

Block Letters
A DIY tutorial

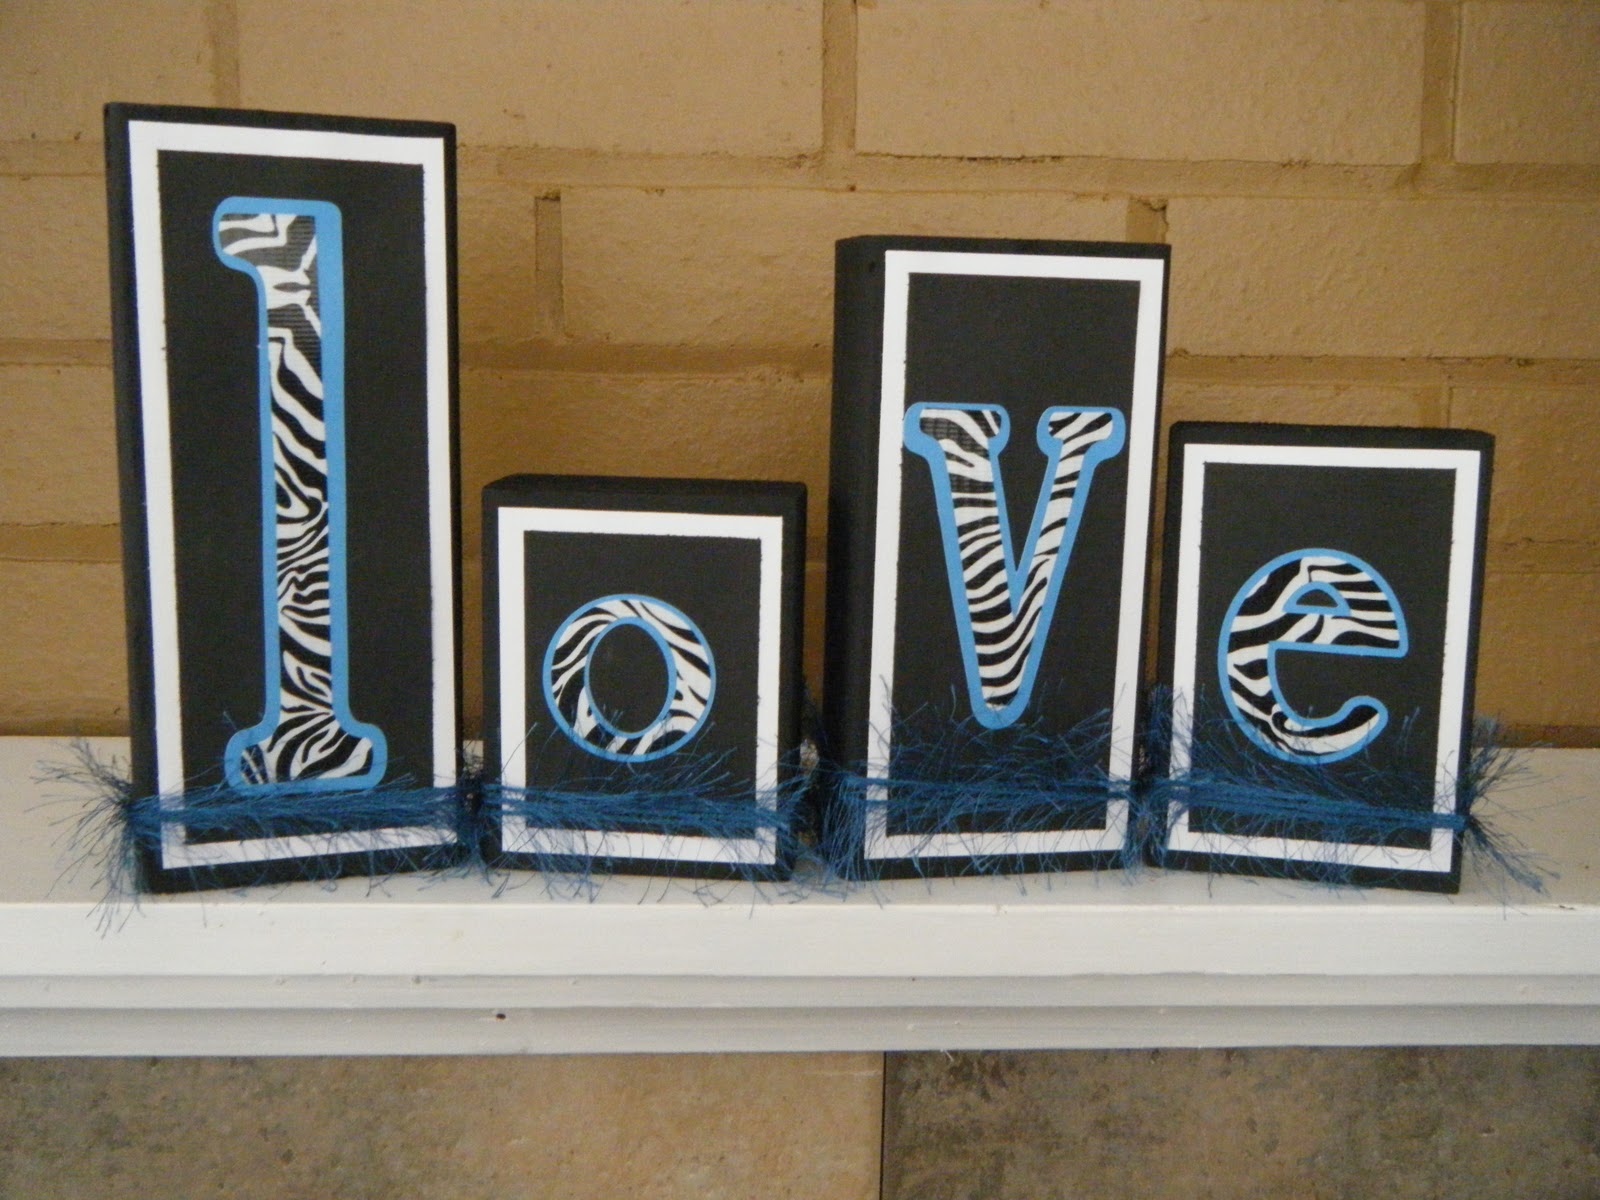
So I saw these at the last craft fair I was at, UBER cute block letters. They are wood blocks with letters painted on them to spell out things. CUTE! I thought, "I could so make something like that!" So I did ;)
Here is what you will need:
*Wood blocks, size is up to you (I used scrap lumber in our garage and cut it to size)
*Paint
*Scrapbook paper
*Glue (I used mod podge- love that stuff)
*Scissors
You will also need a way to make the letters, such as
*stencils
*pre-cut letters (can find these in the scrap book supplies at most craft stores)
*Circut ( I used my BRAND NEW Cricut for this project- YAY)


Cut your wood into blocks. I cut several sizes, so I have a variety to choose from.


After you cut your wood blocks to the size you want, practice arranging them. You can line them all up, stack them, set them up however you want!

Next, pick the paper you want to use. Then pick out the paint you want.

Then paint your blocks. I painted the 3 sides, and a bit of the front and back. I did 2-3 coats of paint.

After the paint dries, measure the front of the block and cut your paper to size. I left a bit of the color showing on the front of the paper. Again, up to you.
After you cut your paper to size, check to see that it fits to your liking. If it does glue it on to the front.

Do this for all of the blocks.
I also did this for the back of the blocks, and added a cute little “Crafted by Melissa Jean” onto the bottom of the back.

Now you get to cut your letters out. Size, font, color, etc is all up to you. I like the quirky mismatched upper and lowercase look, so I went with that. I also made a shadow for each of my letters.
Glue the letters onto the blocks.

You can leave your blocks like this if you want (they look pretty cool huh) But I wanted to add a little something more. I used some ribbon I already had, and wrapped them a few different ways. I used hot glue for this step.

CHECK THEM OUT! (the “give thanks” still needs to be embellished)

Happy DIY

Here are a few more of my block letter creations...